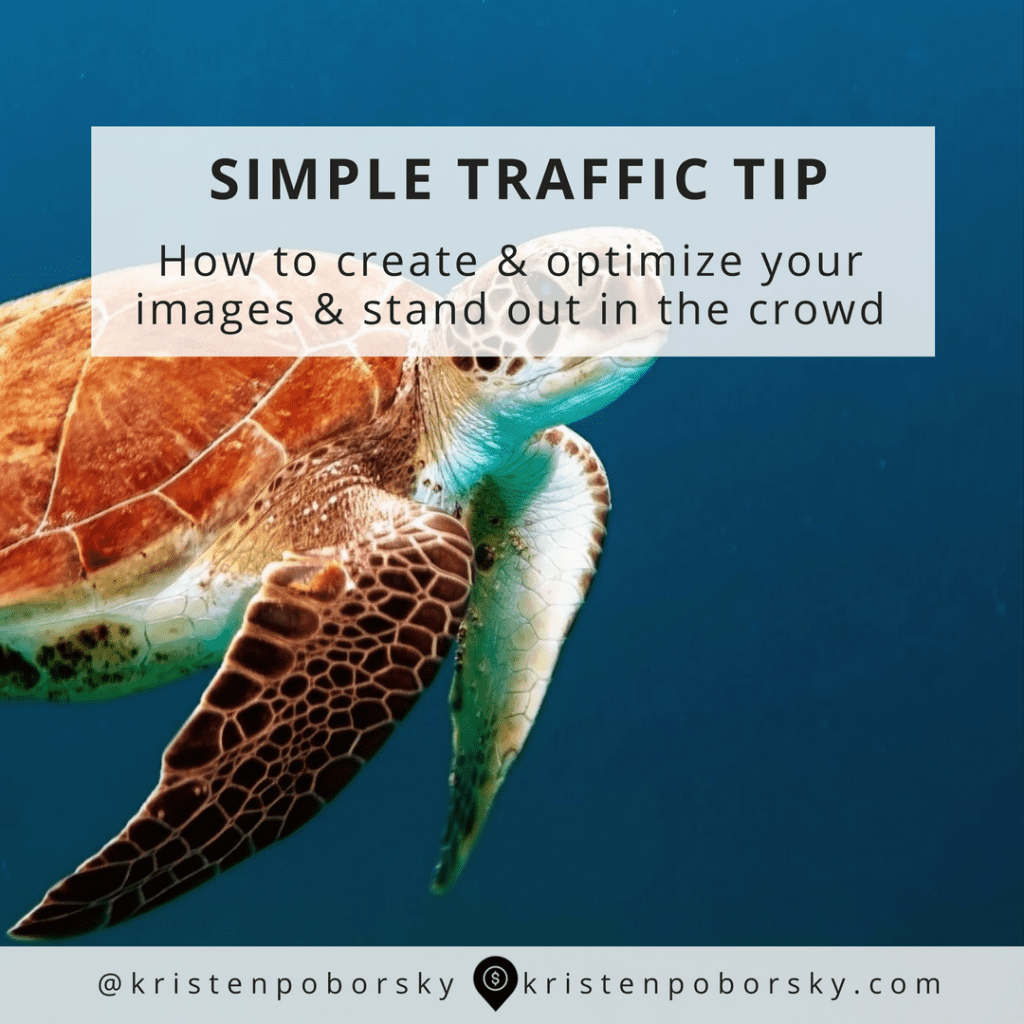
Today I’m going to show you a smart workflow that will have you creating images in no time flat!
1. Use the right tools:
Having the right tools in your arsenal and feel comfortable using them. Doing this cuts your workflow down considerably. And remember to pick one and stick with it because the more you use it the better and more proficient you will become.
Here are 3 great image editing tools to choose from:
- Canva – easy & free
- Pic Monkey – easy & free
- Photo shop – more complicated, produces professional results and a steep learning curve
Pick one and get comfortable with it!
Here’s a short video
showcasing my fav…Canva!
2. Find the right images:
3 things to keep in mind when picking images:
- Your image should match the tone and message
- Its legal – don’t use an image you found on the internet, you could end up owing $$
- Bigger is better – the image should be bigger than you think you need. It’s easy to make them smaller but going larger can be a problem.
3. Images – Putting it all together:
I end up creating these 3 image sizes:
- Square – for the featured image, Facebook and Instagram
- Landscape – for Twitter
- Portrait – for Pinterest
Here’s the code:
This is why I love Canva and upgraded to the paid version because I can make the image once and then use the magic resize button and make it into any size I want.
Create a template – or 3 then use them for your posts. I have a set template I use for my blog post images that is branded so that when people see it on social media they know it is me.
4. Optimize your images for your site
I know… you’re probably thinking, what does this mean?
You want your images to not slow your site down especially when you have multiple images embedded into a post.
Multiply 3 images by a couple of posts a week for a year and you’ve got over 312 images!
That’s a heck of a lot of images.
I will make it really simple for you and suggest that you just install a simple plugin for WordPress called WP Smush it https://wordpress.org/plugins/wp-smushit/
No messy additional steps, upload your image and the plugin does the rest of the work for you.
Check out how easy is WP Smush It is…
5. Optimize your images for SEO
No need to make this overly complicated…here’s the simple step by step
Step 1. Name your file before you upload – it should contain a descriptive keyword or phrase that summarizes the image.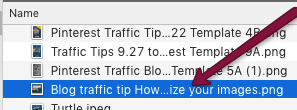
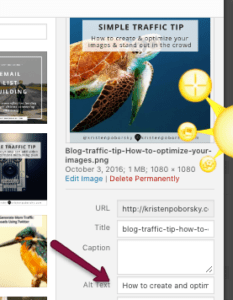
Step 2. Alt tag – add your keyword or long tail keyword just like this.
Here’s my parting thoughts….
Take this simple workflow I’ve created and use it next time and every time you create images for your blog post and social media
Use the right tools and system for creating your images…you’ll end up having fun and creating some pretty darn good looking stuff!
Do it a few times and you’ll have it down!
I want to know if you have a favorite tool you like to use when creating images?
Is there anything new that I’ve written about that you’re going to try out?
