Ever wonder what are the basic SEO Steps to set up and optimize your blog? Then you are currently on the right page.
Everyone wants daily traffic to their blogs because this means more subscribers and sales too! If you need all of these to happen, the answer is proper optimization.
In this post, I’ll show you the simple SEO Steps that will get your blog set up for more organic traffic.
It doesn’t matter if you are new to blogging or have been blogging for a long time, you need to make sure that you have the right foundation set up for SEO.
SEO Steps You Need To Follow
This all might seem overwhelming but you only need to do these steps once and you are done!
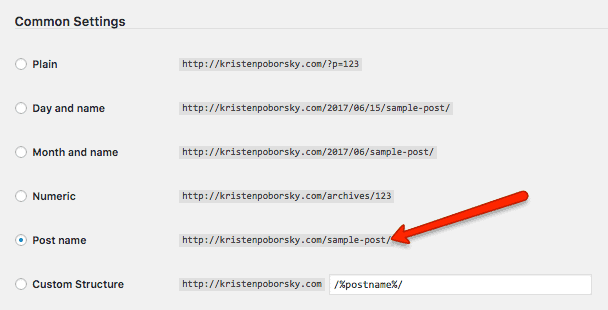
Step 1: Set Up Your Permalinks
Log into your WordPress site and head over to the settings.
- Click on the Permalinks and make sure your settings are set to this: Post name
- Then save your changes.
- This will ensure that your URLs for your post are SEO friendly.
Step 2: Install an SEO Plugin
I can’t say enough great things about Yoast SEO plugin, and if you can afford it, get the premium version. It’s $69 a year and a good investment if you want to get more organic traffic.
You can always start with the free version too.
- Go get it here: https://yoast.com/wordpress/plugins/seo/
- Head on over to your plugins and upload and install the plugin.
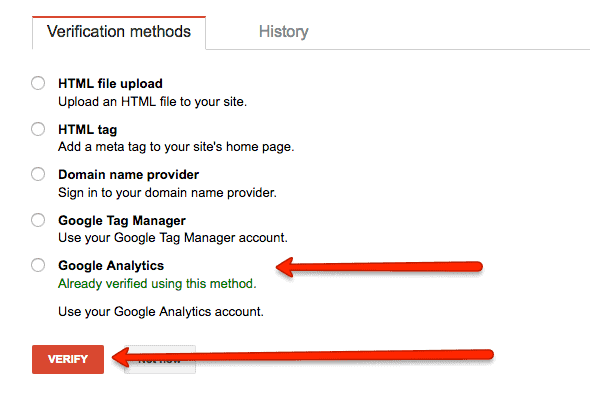
Step 3: Set up Google Search Console
Before we get started setting up your Yoast Configurations, you’ll want to set up Google Search Console, one of the most important SEO Steps.
- If you haven’t already set up your google analytics account you’ll need to do that first here: https://analytics.google.com
- Head on over to Google search console here: https://www.google.com/webmasters/tools/home?hl=en
- Click add property
- Select Verify with Google Analytics Option and click verify

Step 4: Set up Yoast SEO Plugin
Let’s start with the general settings you need to get up and running with the SEO basics your blog needs.
Your Info
In this section, you’ll enter the primary information about your blog.
- You’ll enter the name of your website
- Then you can choose whether your site is a person or a company and then enter the name associated with what selection you’ll make.
- Save your settings
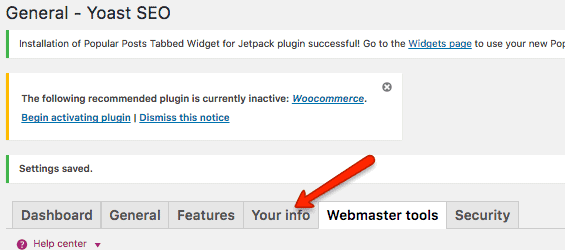

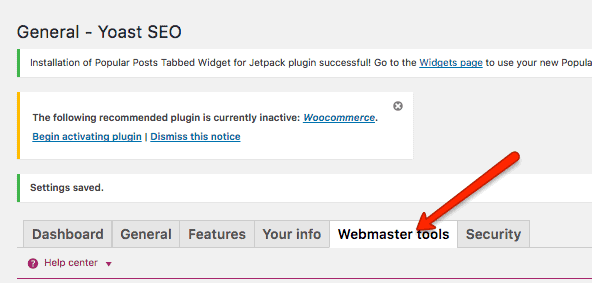
Set Up Google Search
Now we’re ready to get your site connected with the major search engines in this step
- Click on Webmaster tools
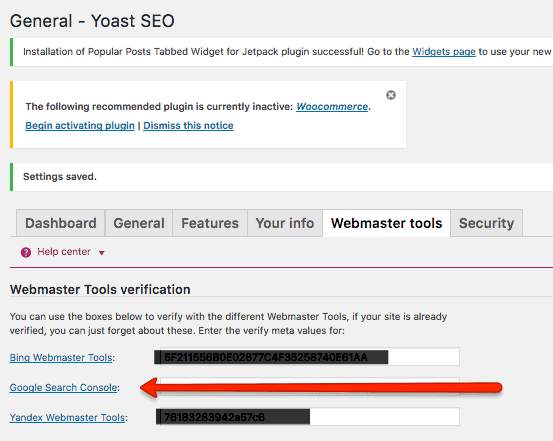
- Then start by clicking on the Google Search Console link
- Follow the directions
- Then click save
***Note that when you go through the verification process you will not need to add a code in here….
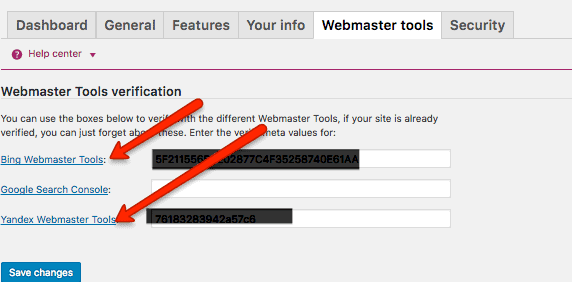
Add Bing And Yandex:
Following the same steps, as you did for google search, you’ll want to add Bing and Yandex for more visibility.
Just click on the Bing or Yandex link and then follow the directions to either create an account or sign in and then add the verification code.
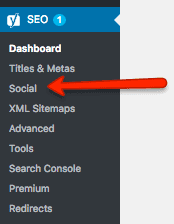
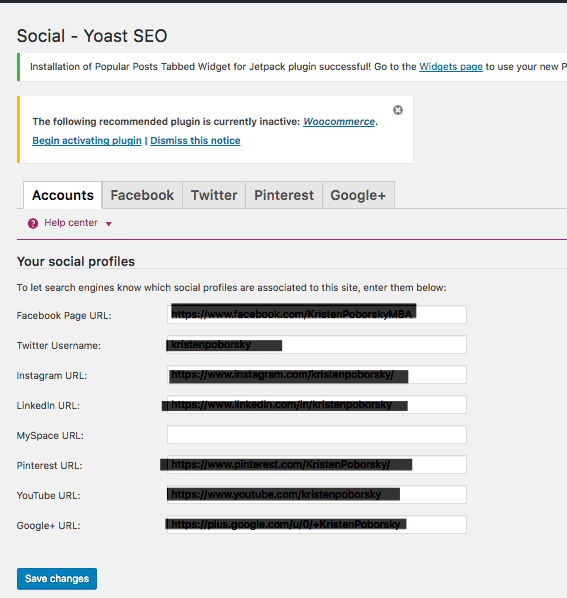
Set Up Your Social Media Profiles:
- On the Yoast Plugin from your dashboard, click Social
- Then you’ll want to set up all of the social media profiles I’ve pointed out in the screenshot below.
- Click save
Step 5: Submit Your Site
Let’s make sure your sitemap is set up enabled and then submit it to the search engines.
However, if you do not have content set up on your site, hold off on this step until later. You’ll want to make sure the main pages are set up with content and at least 2-3 blog posts written and published.
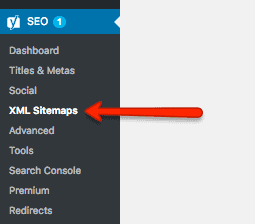
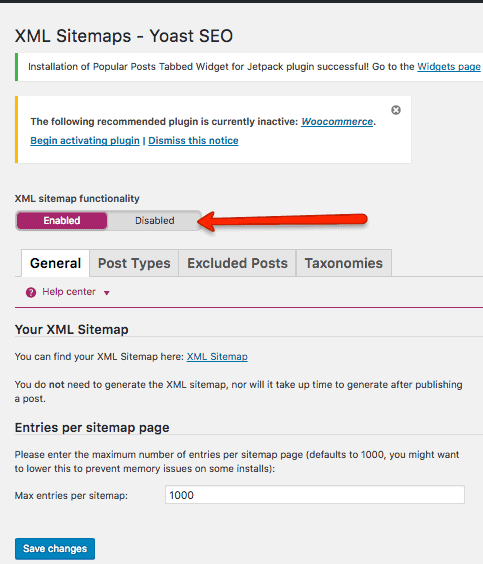
Enable XML site maps on your blog:
From the Yoast, click on XML site maps. Then make sure the button is turned to enabled, then save your changes
Submit your site to Google Search Console
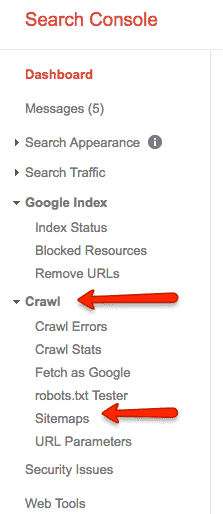
Now you are all ready to submit… all you have to do is go back to the Google Search Console account
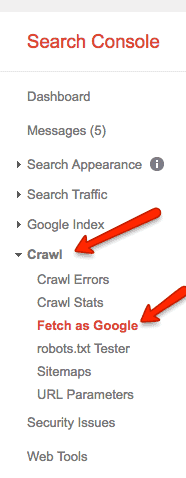
- Using the sidebar menu inside your site property management dashboard, go to Crawl > Sitemaps.
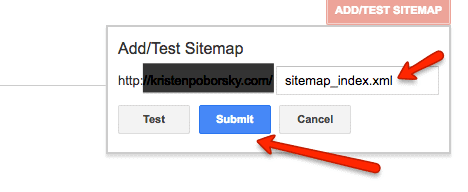
- Next, click on the Add Test/ Sitemap button and add your sitemap URL.
- Add is “sitemap_index.xml” to the form – see screenshot below
- Click the Submit Button
- Wait a few minutes and then refresh the page.
- You should then see the “sitemap_index.xml” file shown.
Periodically you will want to log into your Search console and come back to this page to see how many pages and images Google has indexed from your site.
Index Your Site:
- Stay here in the Search Console and go to the Crawl > Fetch as Google section.
- Submit your entire site for indexing
- Click the Fetch and Render button and then wait for Google to process your submission. Once they are done, you will see a “Request Indexing” button.
- Click and wait for it to fetch….

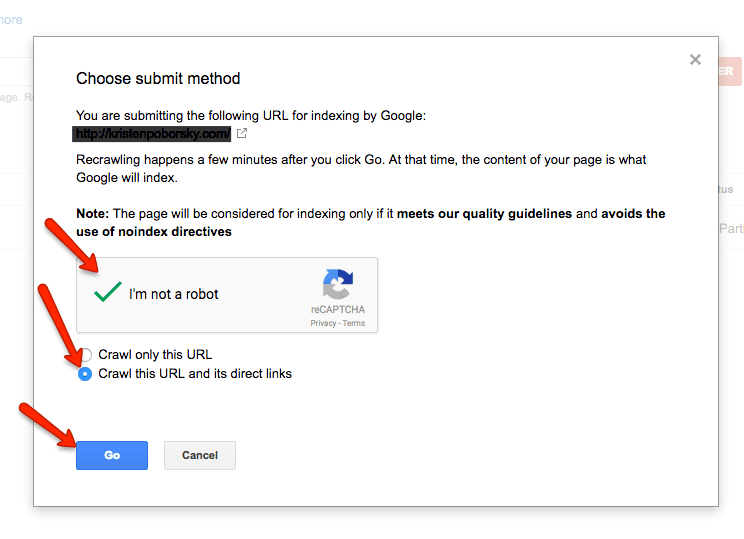
After you click fetch and render a verification box will open up
- Check off I am not Robot
- Select search this URL and its direct links
- Then go
- After it is completed you’ll see your request on your console.

A final note on submitting your site for indexing…
Do not request indexing over and over…a good rule of thumb is to do it periodically and after you have new content added to your site.
The great feature of the Yoast plugin is that it takes care of notifying the search engines when you have new posts or content on your site!