 No matter where you are sharing your content, either on your blog or on social media, having strong visual images is essential to catching the interest of people.
Have you ever found great content without any images?
It virtually makes it impossible to share that content on platforms such as Pinterest and Facebook where having a strong visual image is the first thing that will catch pinners and readers attention. From press releases to your blog and social media accounts, there really isn’t any place where you are sharing content that having a great and engaging image isn’t equally as important as your subject line.
We are so visually oriented that I believe the subject line is now becoming second place to that image.
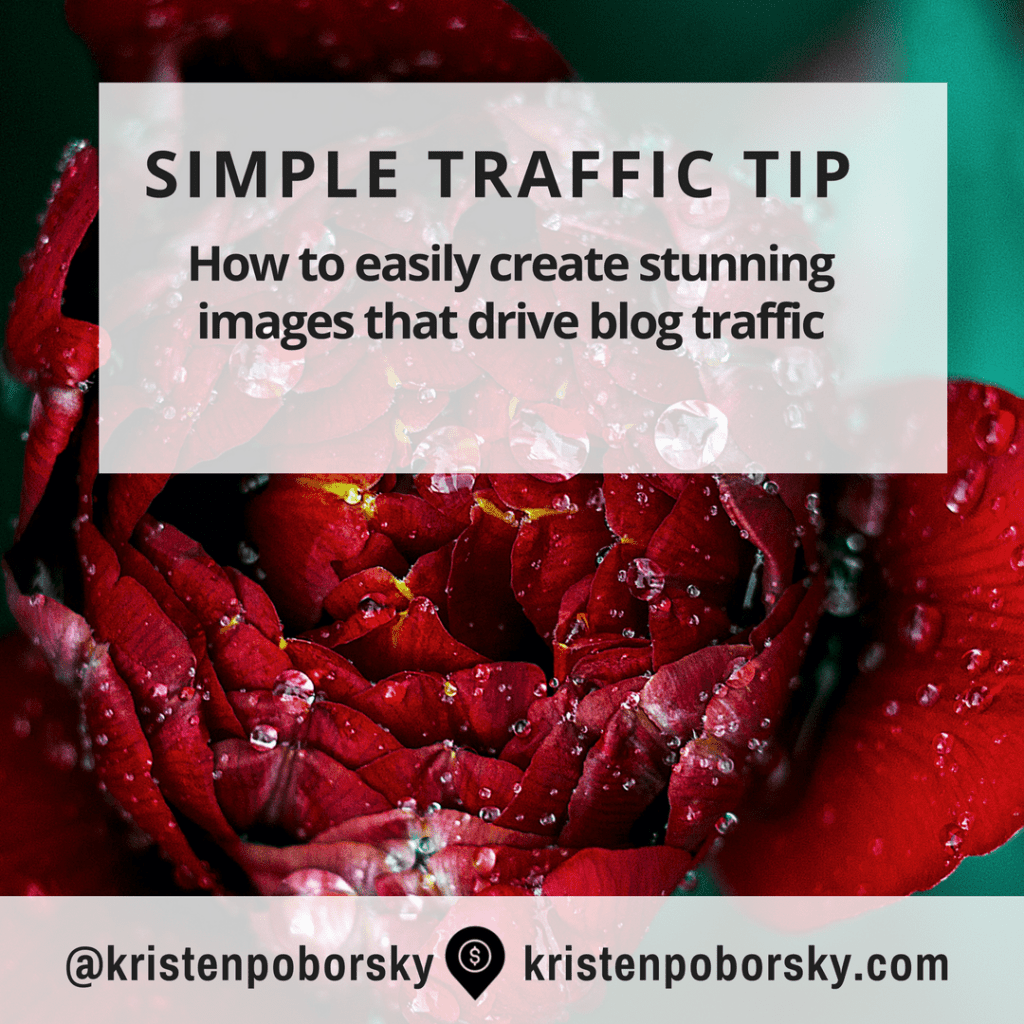
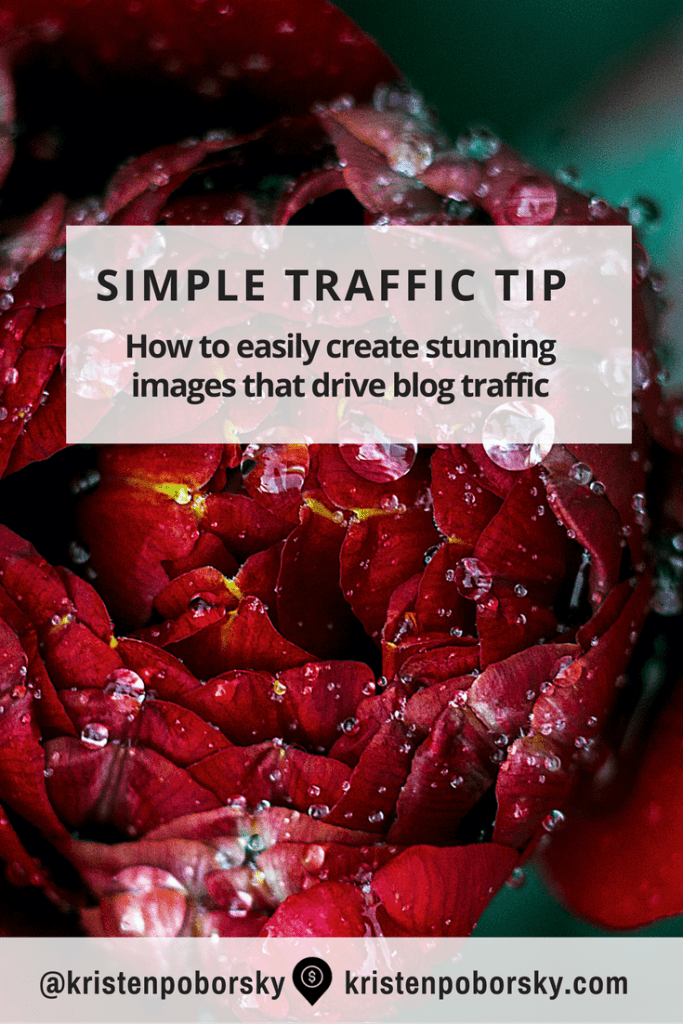
I use Pinterest, Slideshare, LinkedIn and Facebook as my content curation platforms of choice for the past 6 months And I have changed how I create my post images. I used to go with a thumbnail image at the top of each post – boring. So to engage my audience quickly I create an image that is about 600 to 700 pixels wide and between 300 to 300 pixels high and place it front and center at the top of each post.
There lots of great free platforms around and on this post I want to highlight a tool called Share As Image.
Here’s how to easily create stunning images for your post and social sharing:
Want to know how to easily create stunning images?
Follow these design tips!
Design Tip #1: Create a great headline
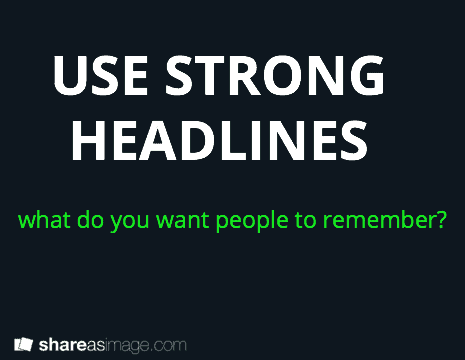 Make it short i.e. 140 characters or less. What is the most important thing that you want your audience to remember?
Design Tip #2: Simple is Better
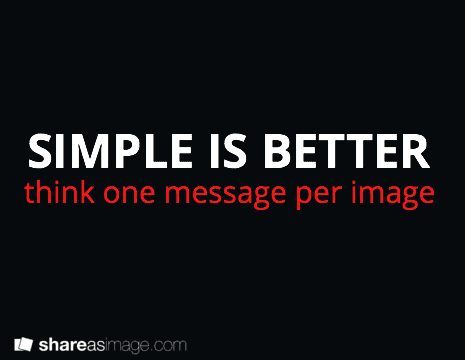 Most images are overloaded with too many visuals, oftentimes words and images are competing rather than working together. You want to avoid trying to communicate too much on a single image. You want your audience to get your message and you have about 3 seconds to catch their attention and show them why they should click.
Think one message per image.
Design Tip #3: Color for readability and impact
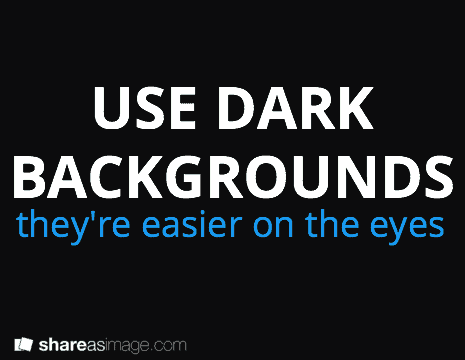 If you are creating an image with a solid background – go with a dark background, your type will show up better. Did you know that white backgrounds make them harder to read? Remember that next time you create a power point presentation. And it’s a good idea to have a color scheme and use it throughout your images if you are creating more than one image on a post. Another color tip is to combine colors on a single image for maximum impact (and to make a point) as I did on the image for this point.
Design Tip #4: What font to use
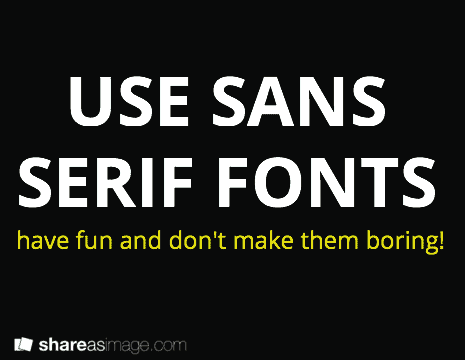 A good rule of thumb here is to go with standard fonts but don’t make them boring. San serif fonts are the best for readability just like when you picked a font for your content on your website pick a font that is easy on the eyes. Refrain from selecting a font that is unique as it is not likely that viewer on different computers will all see it unless they have the same font installed on their computer. Great sans serif fonts include: Arial, Gill Sans, Tahoma, Futura, Calibri, Helvetica, Trebuchet MS, Univers and Verdana. Creating multiple slides on a single post, then be sure to use the same font and color scheme for each slide and don’t be afraid to play around and make each one slightly different as I am here on this post.
Design Tip #5: Combining Text with Images
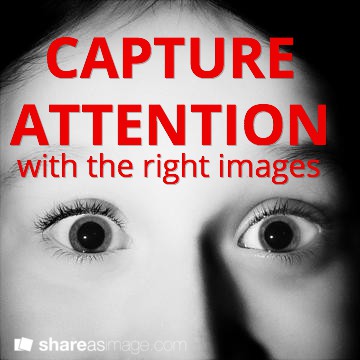 The right image makes all the difference when you want to capture attention and get your message across. So take the time to research and find the RIGHT image(s) for your posts. I love bigstock photos, istock and photodune for paid images and if you want a great tool to find free images on http://flickr.com then be sure to check out http://compfight.com/ which is a search engine that will make your search easier. That’s what I used to on this slide.
And remember to give credit where credit is due
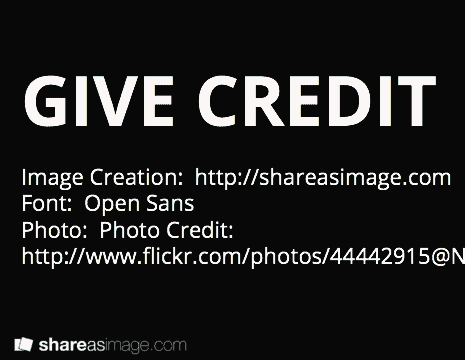 When using free images from Flickr be sure to check out the copyright information and give credit where credit is due. I like to put all of my credits and resources on a single slide just like the example below: I can’t tell you how much fun I had researching and putting this article together for you. I hope that you enjoyed reading this and that you will put my design tips and resources to good use!
Want to sell more services & products on auto pilot?

FREE Download: I’ll show you step by step the 7 simple changes you can make to your website that will have it making money while you are sleeping!