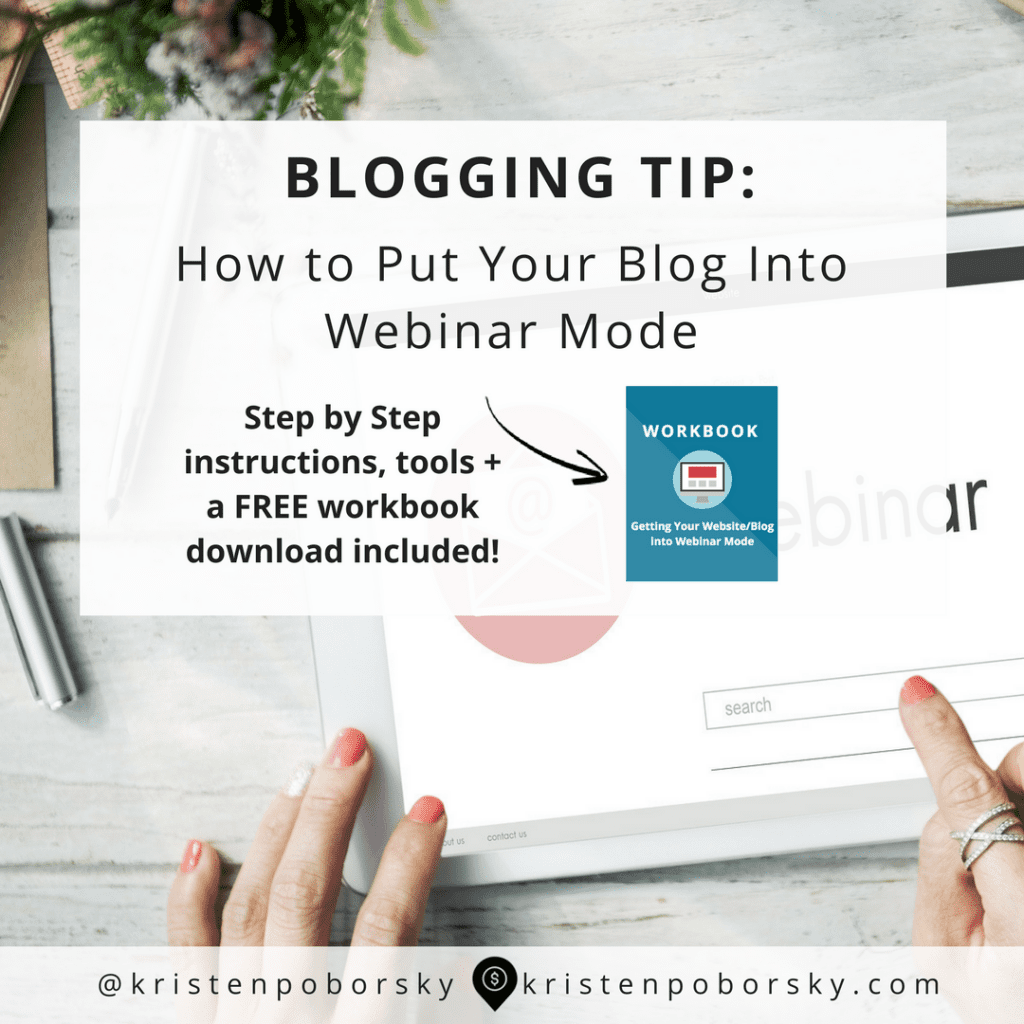
In this post I show you how to put your blog into webinar mode quickly and effectively.
There’s a handy workbook that you can download and have on hand that will walk you through each of the steps.
I’ve got a list of tools you want to have along with my personal suggestions from years of experience with putting my client’s blogs into webinar mode…
Webinars are still one of the best ways to build your list, educate your audience about products or services and make sales. You say you want to build your list fast? Then hosting a webinar on a monthly basis is something you’ll want to do.
I picked this topic to educate my audience because I was recently setting up a client’s blog for an upcoming webinar and I realized that it would be better for my team to do the implementing instead of me.
As a result I needed to turn this into a simple step by step system to hand off to my team. And I figured that if I needed a step by step system to turn blogs into webinar mode it wouldn’t hurt to help my audience do the same….
Let’s get started!
Recommended Tools
- WordPress site
- Registration Page
- thank you page for your webinar
- Announcement bar plugin (well worth the $19)
- Email provider (my choice and what I personally use is Aweber)
- Webinar Platform
- Zoom.us
- Google Hangouts
- Graphics
- Canva
- Optin Monster (What I personally use and recommend
When planning to put your blog into webinar mode, I suggest that you set it up at least 2 weeks prior to your webinar so you can focus on getting registrations the week before and not have to stress about doing it all at once…
Plan on getting everything ready 3 weeks out and taking it all live 2 weeks out…
I’ve got you covered with the Put Your Blog Into Webinar Mode Workbook below:
Here’s the process and timeline for getting your blog into webinar mode:
3 Weeks out:
At this stage you want to gather your tools and your copy to prepare your blog for going into webinar mode. And if you are repeating a webinar you’ve already done, you may have most of this already prepared.
Here’s Your Day 21 Punch List:
- Write or update the copy for your webinar registration pages
- Write or update the copy for your welcome email
- Select and set up your webinar delivery platform
- Write a blog about your topic and mention that you have a webinar coming
- Purchase Announcement Bar (if you haven’t already)
- Set up your Canva account (if you haven’t already)
- Set up your Opt In Monster Account (if you haven’t already)
- Write your first blog post around your webinar topic to warm up your audience
2 Weeks out:
This is where the 21 day checklist plus advance preparation pays off…
You are now in implementation mode.
Here’s Your Day 14 Punch List:
- Set up your registration and thank you pages on your blog with copy
- Create your sign up form in your email provider
- Select and set up your webinar platform
- Put your webinar details on your thank you page
- Create your welcome email with your webinar details and set up in your email provider
- Test by registering for your webinar, then make any fixes.
- Add your registration to your navigation
- Set up your Webinar Advertising
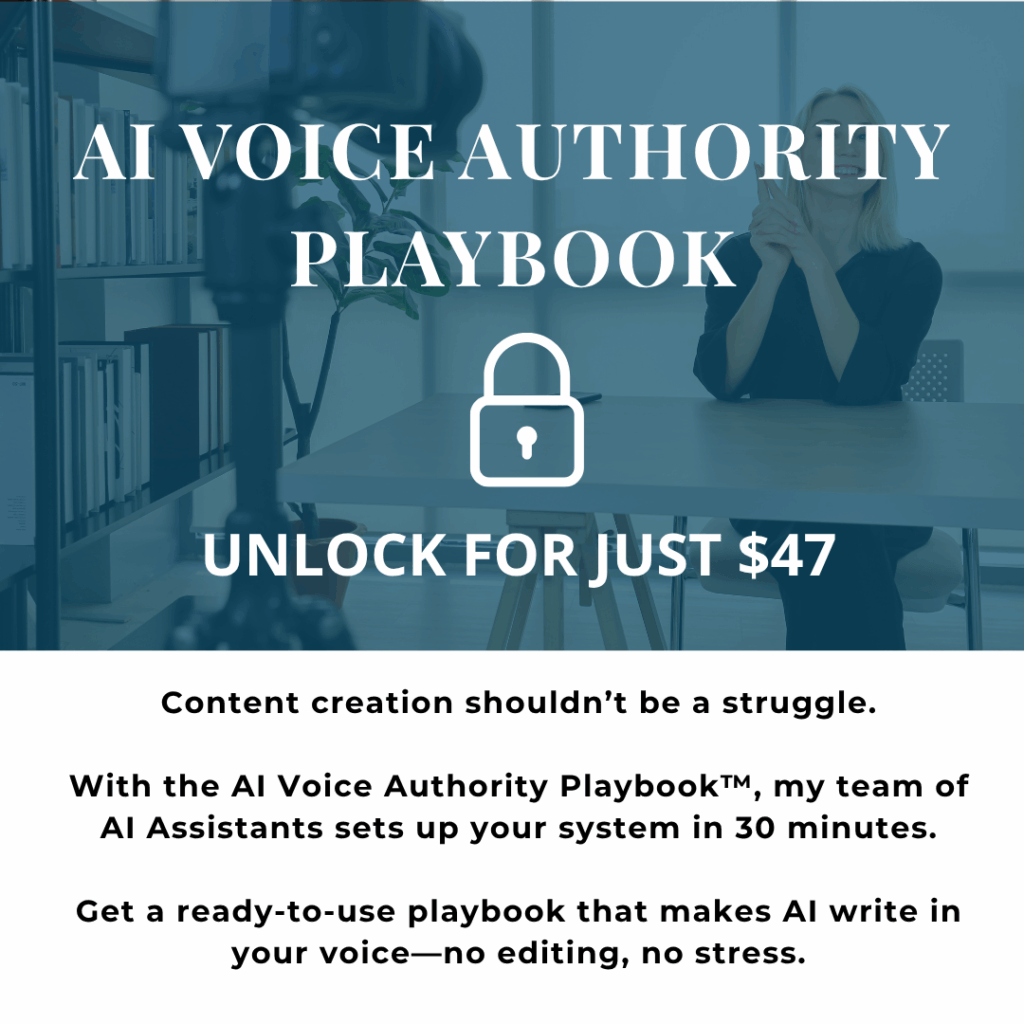
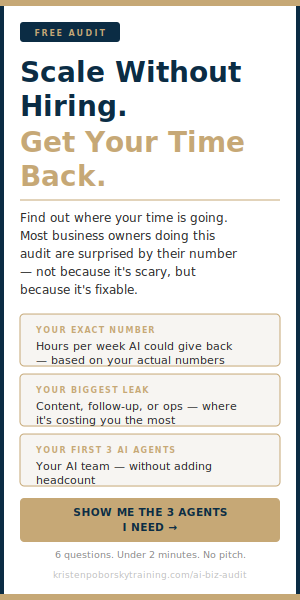
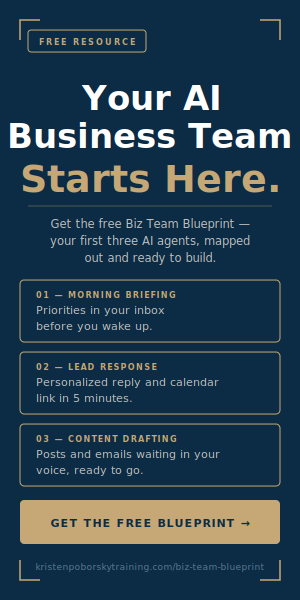
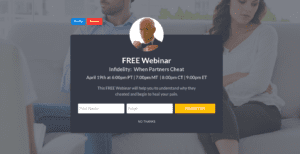
- Either use Canva or OptIn Monster to create your sidebar graphics – see sample created below using OptIn Monster:
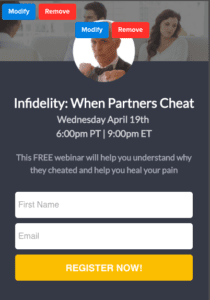
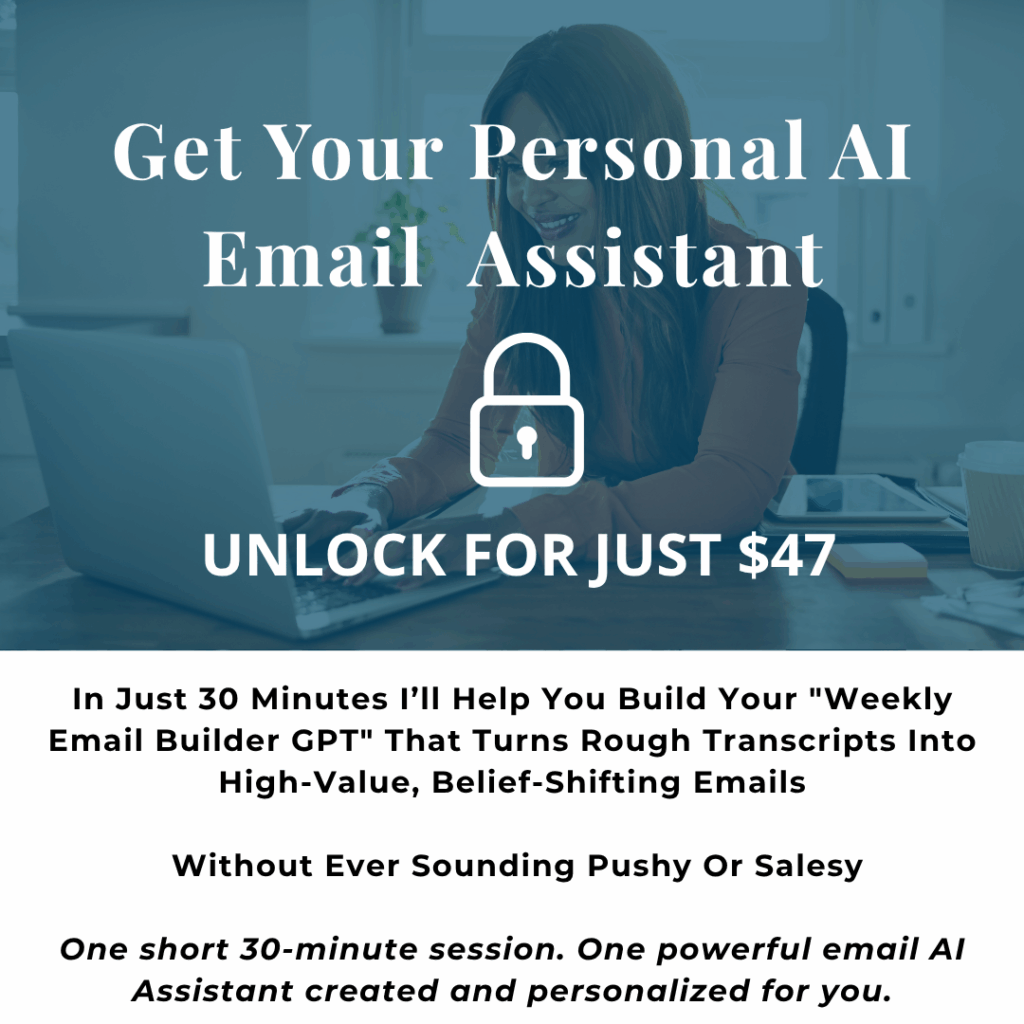
- Use OptIn Monster to create either a pop up or a gated page advertising your webinar. Here’s a screen shot of one I created using OptIn Monster:
- Set up your announcement bar for your webinar
- Write your Social Media Copy & create your graphics
- Write a blog post and add your webinar advertising
Bonus tip: Add your webinar advertising to any other pages where your target audience would land.
1 Week out:
Now that your blog is in full webinar mode it’s time to get into webinar promotion mode!
Here’s Your Day 7 Punch List:
Day 7:
- Send Email #1 to your list
- Write & Publish Blog post announcing webinar – promote out on social media.
- Promote Webinar Social Media Platforms using graphics & content you created.
Day 6:
- Promote Webinar Social Media Platforms using graphics & content you created.
Day 5:
- Send Email #2 to your list
- Promote Webinar Social Media Platforms using graphics & content you created.
Day 4:
- Promote Webinar Social Media Platforms using graphics & content you created
Day 3:
- Promote Webinar Social Media Platforms using graphics & content you created
Day 2:
- Send Email #3 to your list – I like to make this a last call to join us tomorrow email…this is very effective for getting registrations.
- Promote Webinar Social Media Platforms using graphics & content you created.
Now that you have the simple system to putting your blog into webinar mode, use the workbook I created for you and get to work on those webinars!